Enjoy 10% off your first order!
Everlasting Blooms: Your Complete Guide to Making Felt Flowers
Say goodbye to fleeting bouquets and hello to everlasting beauty. Learn how to create stunning, permanent floral arrangements with the magic of felt flowers. Perfect for crafters of any skill level, this is a heartfelt gift and creative project that will never wilt or fade.
8/28/20255 min read
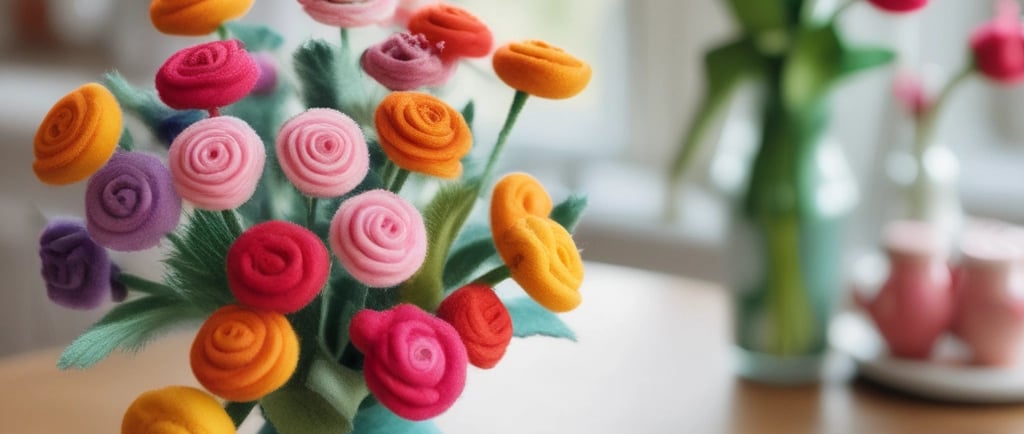
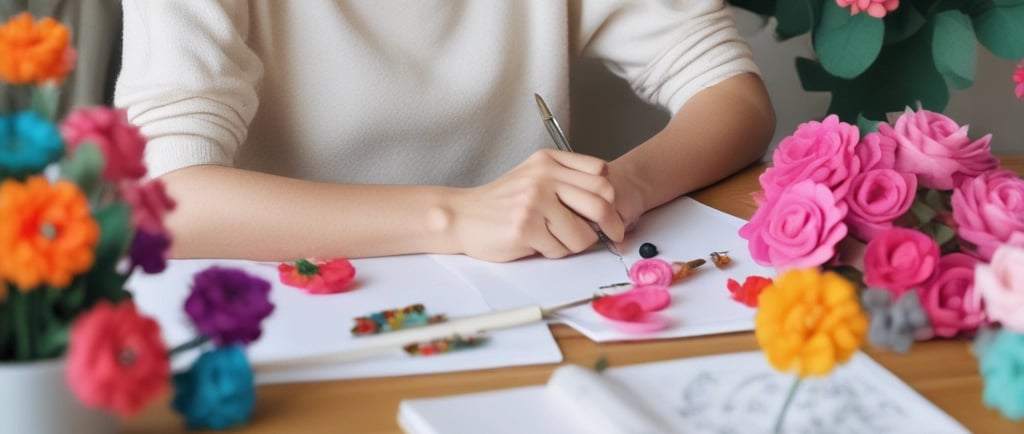
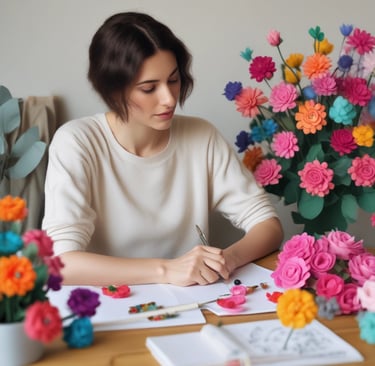
Have you ever found yourself staring longingly at a bouquet of flowers, wishing that beautiful moment could just last forever? Or maybe you're searching for that perfect, heartfelt gift that won't wilt in a week? Honestly, that's where the magic of felt flowers comes in. These aren't your grandma's stiff, plastic blooms; we're talking about soft, vibrant, and surprisingly realistic flowers that feel like a hug you can hold onto.
It’s funny, isn't it? We spend so much time thinking about fresh flowers for every occasion—birthdays, anniversaries, or just to brighten a room. But let’s be real, they're beautiful but so temporary. A DIY felt bouquet, on the other hand, is an everlasting expression of creativity and love. You get to play a little god, creating something beautiful from scratch that will never wilt or fade. And trust me, the process is far more forgiving than you might think. Even if you're a self-proclaimed "crafting-challenged" person, you can totally do this.
What's the Big Deal with Felt, Anyway?
Before we get our hands dirty, let’s talk about the superstar material: felt. Not all felt is created equal, you know? While the cheap, polyester craft felt you find everywhere is perfectly fine for a kid's project, the real pros often swear by wool blend felt. Here's the thing: wool felt is softer, cuts cleaner, and holds its shape better than its synthetic cousin. It just has a nicer drape and feel, and you can even shape it with a little mist of water. It makes a huge difference in the final look, giving your DIY felt flowers that professional, polished finish. But hey, don't let that stop you. Start with what you have! The most important thing is to just get started.
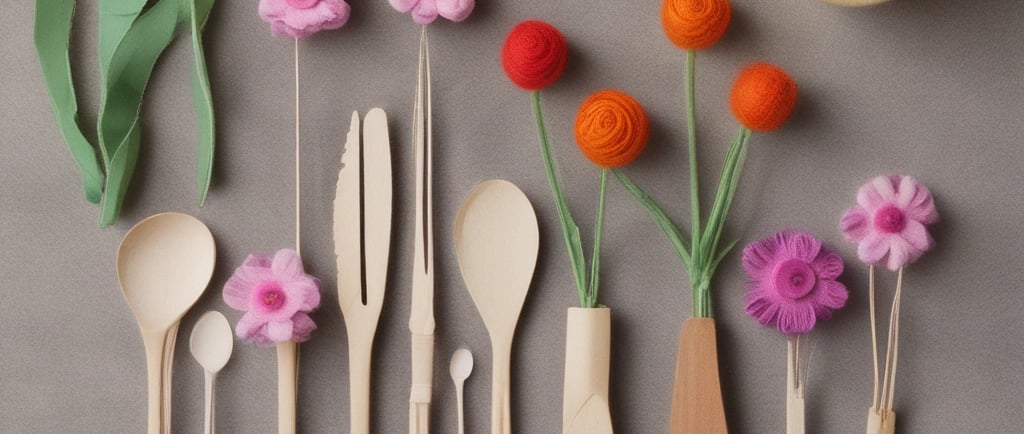
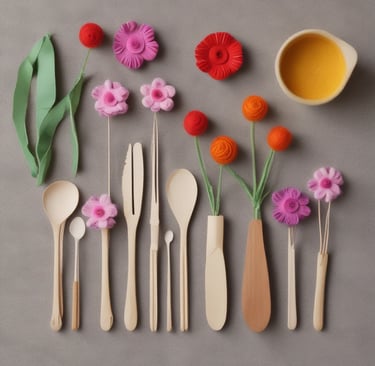
Gather 'Round, My Fellow Crafters: Your Felt Flower Kit
Ready to dive in? Here’s a little list of what you'll want to have on hand. Don't worry, you probably have half of this stuff already.
Felt Sheets: A few sheets in your desired flower and leaf colors.
Sharp Scissors: This is a big one. You'll thank me later. Precision scissors for those delicate petal cuts are a game-changer.
Hot Glue Gun and Glue Sticks: A low-temp glue gun is a must, especially if you want to save your fingertips from some serious ouchies. A detail-tip glue gun, like the Surebonder Detail Mini, can make a world of difference for precise work, preventing those dreaded glue globs.
Floral Wire: I prefer the paper-covered kind. It’s sturdy and gives your blooms a realistic-looking stem.
Templates or Patterns: You can totally freehand this, but honestly, printable felt flower patterns are a lifesaver. You can find tons of free templates online for a felt rose, a lovely peony, a fun dahlia, or even a simple ranunculus. Or, you know, just Google "felt flower templates."
Other Goodies: You might want a needle and thread if you'd rather sew than glue, and maybe some freezer paper to iron patterns onto your felt for a super clean cut.
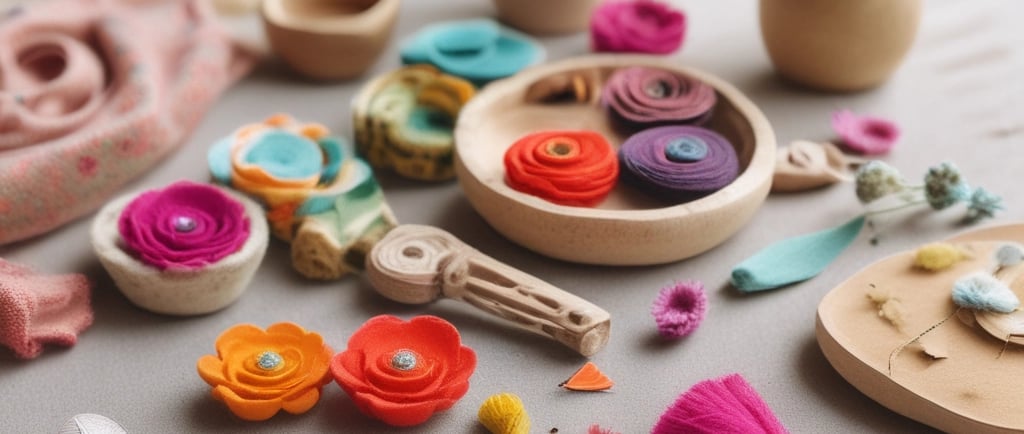
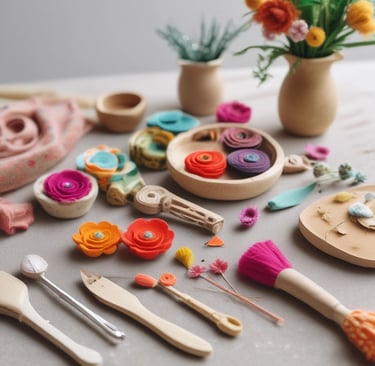
The Anatomy of a Felt Flower: A Step-by-Step Breakdown
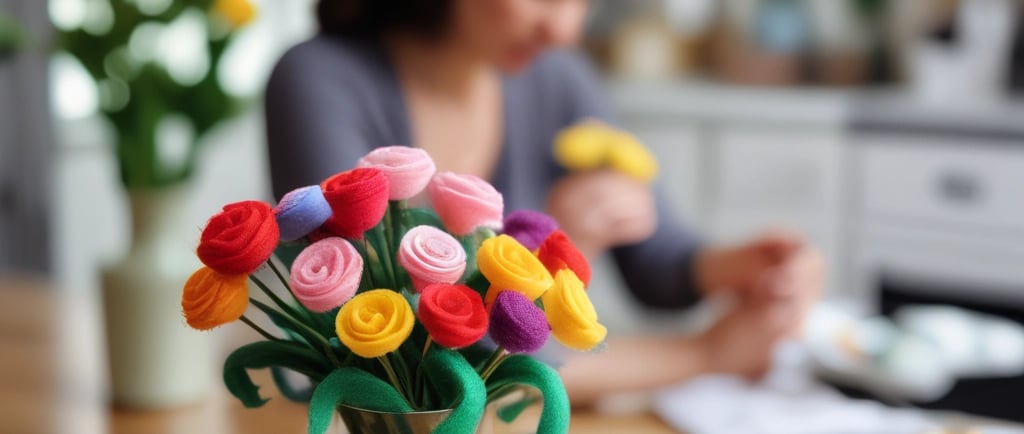
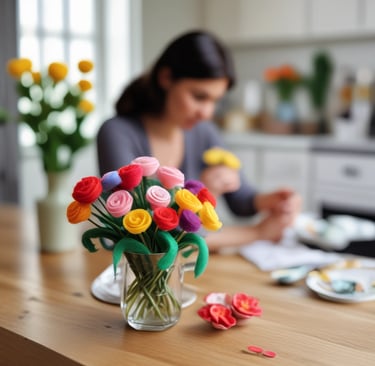
Let's demystify the process. At its core, making felt flowers is a very zen-like, repetitive process. It's about taking a simple shape and, through a series of cuts, rolls, and glues, transforming it into something beautiful.
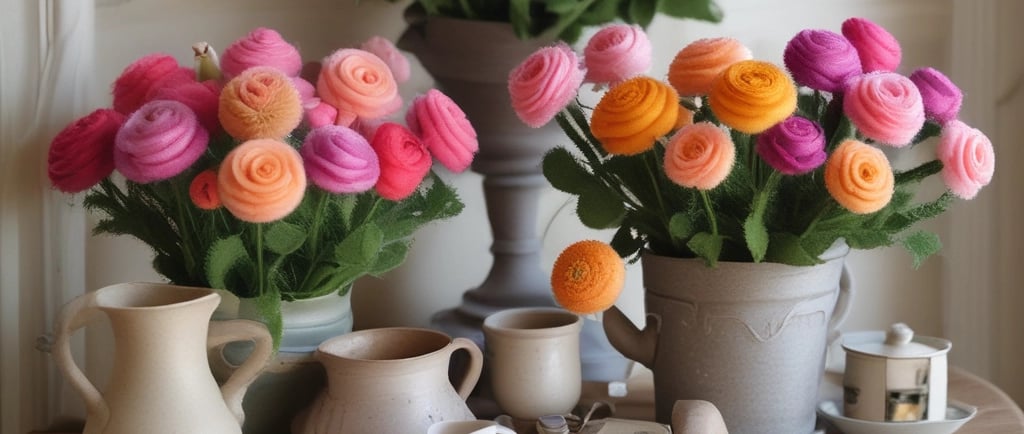
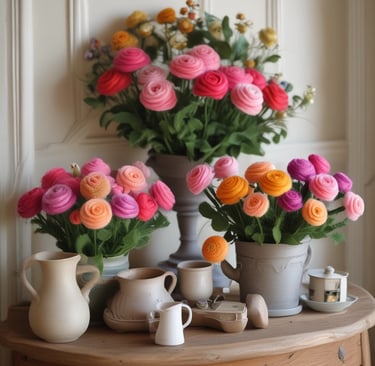
Cut the Petals: This is where you get to decide what kind of flower you're making. A rose might start with a spiral cut, while a peony might need a bunch of individual, cupped petals. The patterns you're using will be your guide. Remember those sharp scissors I mentioned? This is where they shine.
Shape and Curl: You know how real flower petals have that soft curl and curve? You can mimic that! A little tug, a gentle roll around a pencil, or even a quick press with a warm iron (if you're using wool felt) can give your petals that realistic dimension. This is the secret to making them look like they just blossomed.
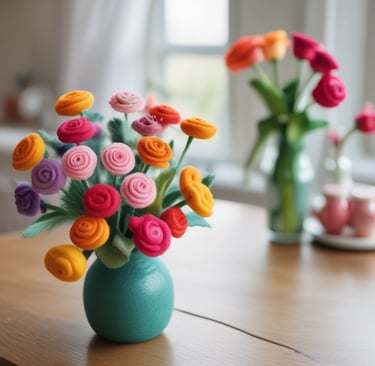
The Assembly Line: This is the fun part. You’ll start with the center of your flower. For a rolled rose, you'll roll up the spiral and glue it as you go. For a multi-petal flower, you’ll start with a few small, central petals and then layer the bigger ones around them. It's like building a little fortress of felt, one beautiful petal at a time.
Add the Leaves and Stem: Once your flower head is complete, you’ll attach it to the floral wire with more hot glue. Finish it off by adding a green calyx (that's the little star-shaped piece at the base of a real flower) and some leaves. It just really ties the whole thing together.
FAQs about Felt Flower Crafting
Q: Can I use a regular sewing machine to make felt flowers?
A: You know, for most of these projects, it’s not really necessary. Many felt flower tutorials use simple hand sewing or, more often, a hot glue gun because it’s so fast and easy. The beauty of felt is that it doesn’t fray, so you don’t have to finish the edges. That said, if you’re a sewing enthusiast, some patterns might work with a machine, but hand-stitching can give you a more delicate, precise finish on smaller details.
Q: What if my felt flowers end up looking... a little wonky?
A: Honestly, that's part of the charm! Perfectly imperfect is a very human trait. Every handcrafted flower has a unique character, and that's what makes it so special. Don't stress about making them all look identical. In fact, mild imperfections can make your felt bouquet look even more authentic and natural, like a real bunch of flowers from the garden. Just have fun with it!
Q: How do you make felt flowers on stems so they can be arranged in a vase?
A: The key is that floral wire we talked about. Before you attach the leaves, you'll secure the base of your flower head to the wire with a generous amount of hot glue. Then, wrap a strip of green felt or floral tape around the wire to cover it and create a realistic-looking stem. This makes the flowers sturdy enough to stand up on their own in a vase or to be wrapped into a beautiful felt bouquet.
What Can You Do With Felt Flowers?
The possibilities are pretty much endless, and honestly, that’s the best part. You can make a beautiful, everlasting bouquet for your mantle, a cute little pincushion (I saw a tutorial for that and thought it was so clever!), or even turn them into a stunning wreath. They're also amazing for decorating headbands, adding a touch of whimsy to a lampshade, or stringing together for a vibrant garland. The sky’s the limit. It’s a hobby that feels good because you're creating something beautiful that will last. So go on, give it a shot. You'll be glad you did.