Enjoy 10% off your first order!
From Flat Sheets to Forever Blooms: The Magical World of Cricut 3D Paper Flowers
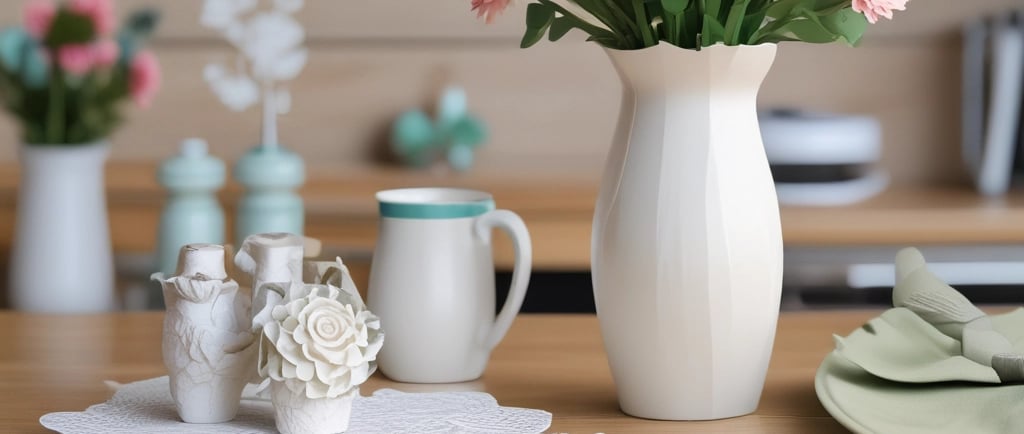
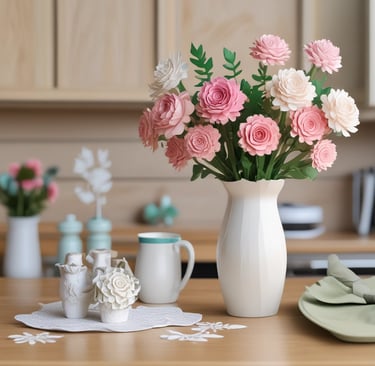
Looking for a way to create a beautiful bouquet that lasts forever? This guide reveals the secret to crafting stunning 3D paper flowers using just a sheet of cardstock and a Cricut machine. Learn how to transform simple two-dimensional cuts into intricate, blooming works of art and become a paper floral designer in your own right.
8/28/20256 min read
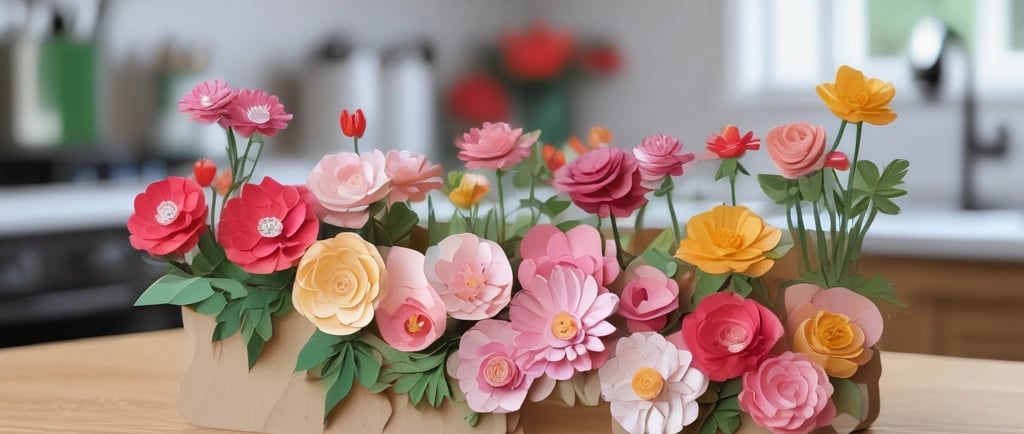
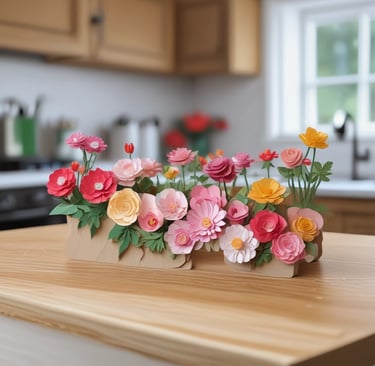
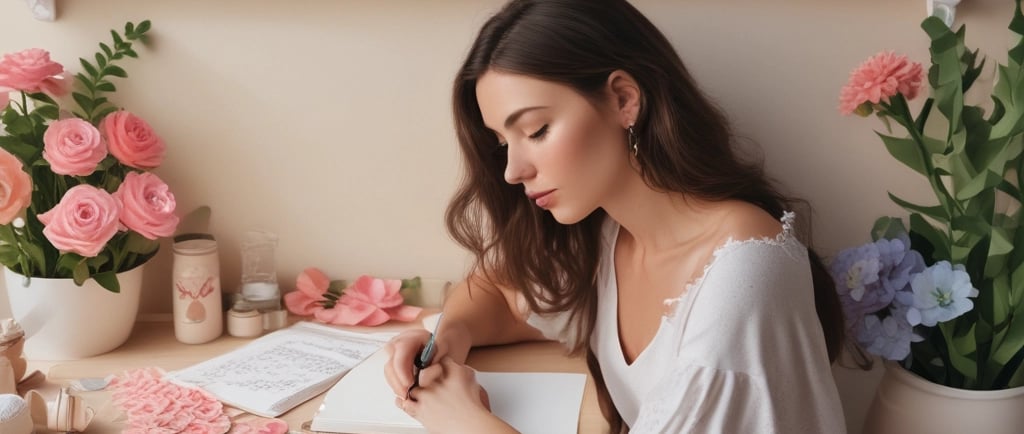
Have you ever looked at a beautiful bouquet and thought, "Wow, I wish I could make something like that, but for keeps?" Honestly, the idea of having a stunning floral arrangement that never wilts, never needs watering, and always looks absolutely perfect sounds a bit like a dream, right? Well, let me tell you, it's not. The secret? It all starts with a simple sheet of cardstock and a little bit of magic from a Cricut machine.
Making your own 3D paper flowers is one of the most rewarding paper crafting projects out there. There’s something so incredibly satisfying about watching a two-dimensional cut file transform into a blooming, layered work of art. It’s like being a floral designer and a sculptor all at once. And while it might seem a little intimidating, especially if you’ve seen those seemingly impossible spirals and layered petals, I promise you, it's far more accessible than you think. You just need a little guidance and a handful of key tools.
This guide will walk you through the entire process, from getting your materials ready to the final, triumphant moment when you hold your very own handcrafted paper blossom. We’ll talk about the best paper for the job, what to do with all those crazy cut-out pieces, and how to master the art of rolling and shaping your flowers so they look like they were just plucked from a garden.
Ready to Create: The Essential Paper Crafting Tools and Materials
So, you've got your brilliant idea, your cutting machine is ready, but what's next? First things first, let's get our supplies in order. You don’t need a huge arsenal, but a few specific items will make a world of difference.
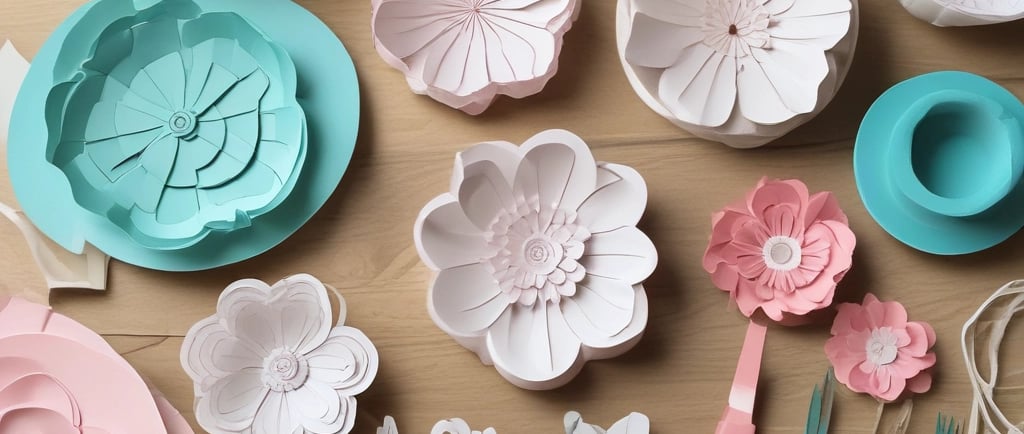
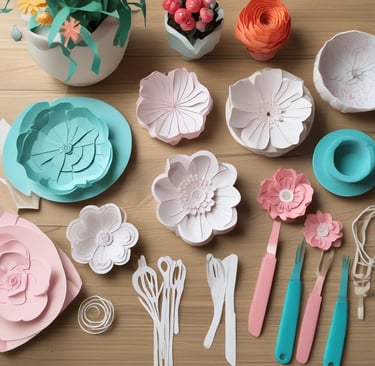
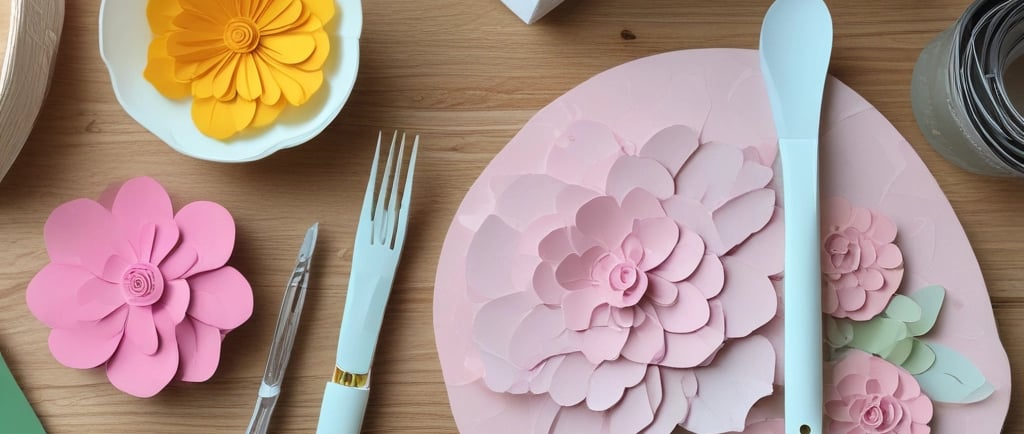
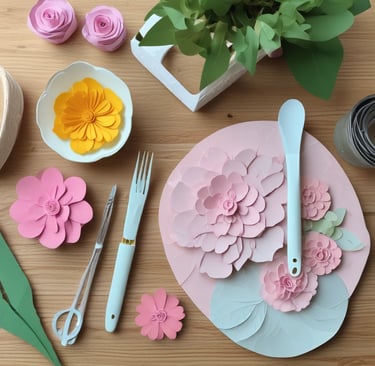
The undisputed hero of this project is cardstock. But not just any cardstock, mind you. You’ll want to reach for something in the 65lb to 80lb weight range. This is the sweet spot—it’s sturdy enough to hold its shape but flexible enough to be rolled and sculpted without cracking. A lot of crafters swear by solid core paper, and for good reason. Solid core means the paper color goes all the way through, so when you tear or cut it, you won’t see that pesky white edge. It makes your finished flowers look so much more professional and seamless.
Next, you need something to put those gorgeous petals together. A hot glue gun is a definite go-to because it dries in a flash, but don't count out a good tacky glue or another fast-drying adhesive. Sometimes you need a few extra seconds to make a precise adjustment, and tacky glue gives you that wiggle room.
And, of course, your trusty Cricut machine is the star player. Whether you're using a Maker or an Explore, this machine is what brings your SVG files to life, precisely cutting those intricate shapes that you'll be assembling. You’ll also need a lightgrip mat to make sure you can remove your delicate paper cuts without tearing them. Trust me on this one; there’s nothing more frustrating than peeling a beautifully cut petal off a super-sticky mat only to have it rip.
And what about those perfectly curled petals? You might be wondering how you get that natural curve. A quilling tool is a fantastic little gadget for rolling the centers of your flowers, but for the petals themselves, you can use a pencil, a wooden dowel, or even a pair of tweezers. It’s all about applying gentle pressure and creating that subtle, organic bend that makes a paper flower look like the real deal.
Rolling, Shaping, and Gluing: The Assembly Process
Now for the fun part: bringing your flower to life! Let's talk about the most common types of designs, like rolled flowers. These are often cut in a spiral pattern in Cricut Design Space. The first thing you do is take the very end of that spiral and wrap it around your quilling tool. You’ll then continue to roll the paper tightly until you reach the circular base at the end. Once the spiral is fully rolled, you'll gently let it go to allow it to loosen up and “bloom.” Then, a small dab of hot glue on that base circle secures the whole thing in place. This is where the magic really happens, as the once-flat spiral unfurls into a beautiful, layered rose or dahlia.
Other flowers, like the poppy or daffodil, are assembled from individual petals. They often have small tabs or slits at the base that you can overlap and glue to give the petal a dimensional shape. You’ll then glue these shaped petals onto a central disc, building up the layers from largest to smallest. Sometimes you can offset the petals to make the flower look fuller and more natural. You know, like they've been handcrafted with love, which they have!
The key to a realistic-looking flower is to gently curl the edges of the petals. Don't be afraid to experiment with this step. Use a dowel or a pen to gently roll the edges back or forward. This adds a level of realism and softness that a flat, unshaped petal just can't match.
.
Frequently Asked Questions About Cricut Paper Flowers
Q: Can I use regular printer paper for my flowers?
A: You could, but it’s not really recommended. Printer paper is much thinner and flimsier than cardstock. It won't hold its shape very well, and your finished flowers might look limp and easily damaged. Think of it like trying to build a house out of tissue paper—it just won't have the structure you need. Stick with a good quality cardstock for the best results.
Q: How do I get my flowers to stand upright?
A: Once you've finished assembling your flower, you can add a piece of floral wire to the base with a little hot glue. This gives it a sturdy "stem" and allows you to put it in a vase or a bouquet. If you're using them for a wreath or other home decor, the flat base is perfect for gluing directly onto your surface.
Q: My paper is ripping when I remove it from the mat. What gives?
A: This is a super common issue, and honestly, it’s usually because your mat is too sticky. Try using a lightgrip mat for your cardstock projects. If all you have is a standard grip, you can "weaken" its stickiness a bit by placing a clean t-shirt or towel on it a few times before your cut. Also, when you remove the paper, remember the golden rule: flip the mat over and gently peel the mat away from the paper, not the other way around. This keeps the paper from curling and makes removal a breeze
Crafting Your Own Floral Story
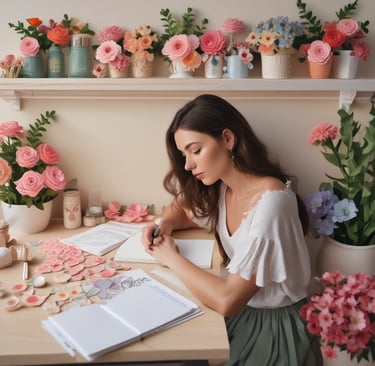
The beauty of this project is that it's a completely blank canvas. From a delicate anemone to a bold sunflower, the possibilities are truly endless. You can craft a classic bouquet for a loved one, or create a stunning piece of wall art to brighten up a room. Imagine a beautifully arranged floral wreath hanging on your door, or delicate paper flowers used as unique gift toppers for special occasions.
This type of paper crafting is more than just a hobby; it’s a way to express creativity and bring a little more beauty into the world. It’s a chance to get away from screens and work with your hands, to make something tangible and gorgeous. You can tie in seasonal colors, creating fiery orange and red blooms for autumn or crisp pastel hues for spring.
So go on, grab your cardstock, fire up your Cricut, and start creating. You're about to make something beautiful, something personal, and something that will last. The first time you show off your handcrafted blooms, you’ll see the look of awe on your friends' faces, and that, my friend, is a feeling that's hard to beat. Happy making!